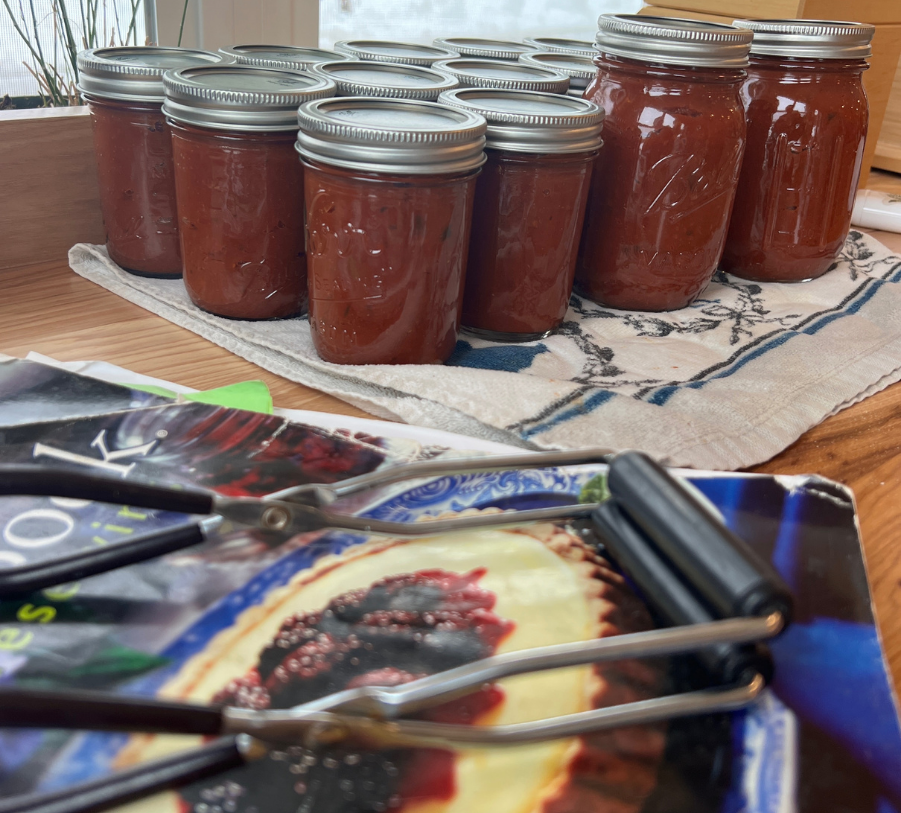
Water Bath Canning Supplies

There’s nothing quite like opening a jar of homemade jam in the middle of winter and getting a taste of summer. If you’ve ever wanted to start canning and preserving food but felt intimidated, don’t worry—you’re not alone! The good news? It’s easier than you think, and I know you can do it.

As a home canner, it is your responsibility to understand the basics. This foundation of knowledge ensures that you are feeding your family healthy, nutritious, and safe foods.
When I pressure-canned for the first time, I was terrified. All the what-ifs ran through my head. What finally got me to pop open those jars of chicken broth? My confidence in myself. I know how to read a recipe; I know how to read a manual. I knew that I did those things and that the likelihood of botulism was rare. So I opened up those jars (it did take me a few months) and haven't looked back since. Broth is one of my favorite items to can because I use a lot of it throughout the year, and it is a great way to get more use out of items many people throw away.

Before you dive in, make sure you have the right tools. A basic canning setup includes:
- Glass canning jars with lids and rings
- A large stockpot with a rack or water bath canner (for high-acid foods)
- A pressure canner (for low-acid foods) I own a weighted gauge presto
- A jar lifter, funnel, and ladle to keep things neat
- Tested recipes (I like these books)
- Food to put in the jars
There is a wide variety of tools, accessories, and other items you can use for home canning and preserving. The above list is the bare minimum of what I suggest to get started. Make sure to check your local second-hand stores. A few weeks ago, I saw a brand new water bath canner with a rack, jar lifter, and canning funnel for $13 at our local thrift shop. I almost snagged it to give as a gift, but instead, I left it for someone else.
Here are a few more resources to guide you:
Signs of Spoilage in Home-Canned Foods


