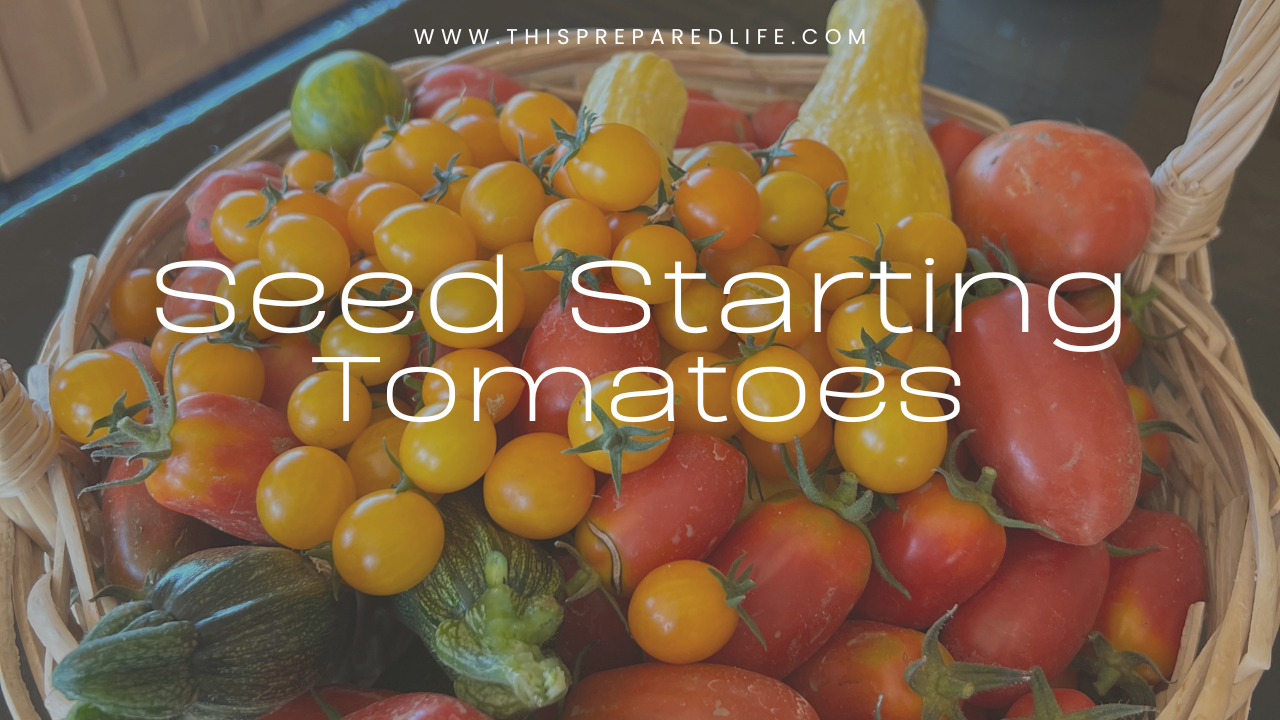
Starting Tomatoes from Seed
I'm growing a year's worth of tomatoes for my prepper pantry. And you can too!
Starting tomatoes from seed is one of the most rewarding parts of spring gardening. It’s also one of the most practical ways to support your food storage goals—because when you grow from seed, you choose the varieties that work best for your pantry, not just what’s available at the store.
Whether you’re brand new to gardening or a seasoned homesteader, this post will walk you through the basics of seed starting, without the overwhelm.
Why Grow Tomatoes from Seed?
There’s something powerful about starting from scratch—placing a tiny seed in soil and watching it grow into food for your shelves. Here’s why I start my tomatoes from seed every year:
-
More variety: You can choose the best tomatoes for canning, saucing, drying, or slicing.
-
Cost-effective: A single seed packet can give you dozens of plants.
-
Better control: You know exactly what you’re growing and how it was started.
And the best part? You don’t need a fancy setup or a greenhouse to make it work.
What You’ll Need to Start Tomatoes from Seed
I didn't always have a greenhouse. For years spring seed starting meant a shelf in my living room. Use what you have! Here’s what I use in my simple indoor seed-starting setup:
-
Seed starting trays or containers (reused year after year)
-
Quality tomato seeds (heirlooms are my go-to)
-
Seed starting mix
-
Grow light (a basic shop light works just fine)
-
Heat mat (especially helpful in colder areas like North Idaho)
-
Plant labels or masking tape + marker
-
Spray bottle or watering can
Tip: You can use what you have—don’t let the gear hold you back.
Step-by-Step: How to Start Tomatoes from Seed
1. Fill your trays with seed starting mix
Moisten the soil slightly before planting. It should feel damp, not soggy.
2. Plant your seeds
Follow the depth instructions on the seed packet—usually about 1/4". I like to plant two seeds per cell and thin later.
3. Label everything
You will forget what you planted. Label each row or cell clearly.
4. Place trays on a heat mat (optional)
Tomatoes germinate faster with bottom heat, especially in cooler climates.
5. Keep the soil moist
Use a spray bottle in the early days to prevent the seed from washing away. Once the seedlings are stronger you can use a water can.
6. Provide light once sprouted
Use a grow light or place near a bright window. Keep the light close—just a few inches above the plants.
Tomato Varieties I’m Growing This Year
This year, I’m focusing on varieties that support my pantry goals:
-
Amish Paste – perfect for sauces and canning
-
San Marzano – a classic sauce tomato
-
Cherokee Purple – a slicer with incredible flavor
-
Roma – great for dehydrating and sauce
Think about how you want to use your tomatoes—then grow what fits your needs.
Tips for Success
-
Don’t overwater – Too much moisture can lead to fungus and damping off.
-
Thin your seedlings – Choose the strongest one and snip the rest.
-
Harden off before planting outside – Introduce your plants to outdoor weather gradually over 7-10 days.
-
Keep it simple – Tomatoes are forgiving. Don’t overthink it.
You’ve Got This
Starting tomatoes from seed is a beautiful act of preparation. You’re not just planting a garden—you’re planting for your future, your family, and your shelves.
If you’re inside the This Prepared Life membership, you can find:
-
My printable vegetable garden planner (and a planner for herbs too!)
-
Behind-the-scenes tours of my garden
-
My full garden planning method for food storage
- Gardening 101 includes choosing a location, terms & definitions, planning your garden, and more.
-
Recordings of past LiveChats on gardening for preservation and garden mulch
Not a member yet? Click here to join us inside the community where women prepare with peace of mind—not panic.
Prepared, not scared.
—Allison
Hey!


